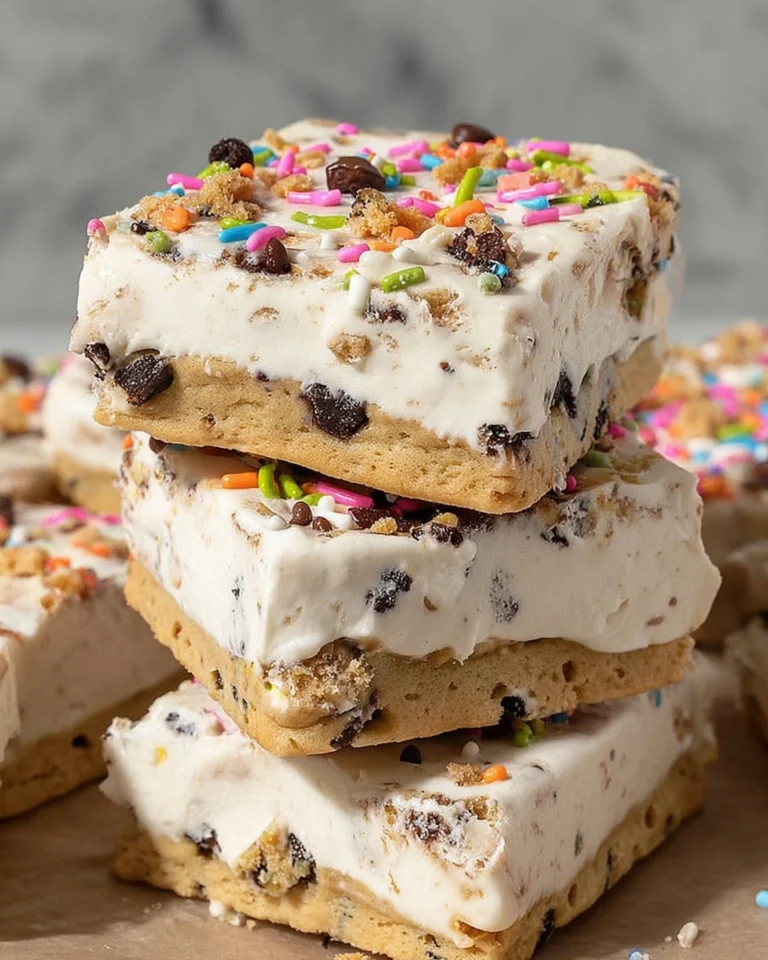
Carmelitas

Carmelitas are an indulgent dessert that combines the rich flavors of chocolate, caramel, and cookie dough, making them a beloved treat in American homes. These gooey, sweet bars have a wonderfully chewy texture and a delightful mixture of flavors that create a perfectly satisfying dessert experience. When I first tasted them at a friend’s gathering, I was struck by how every bite offered a blissful explosion of sweet chocolate with the buttery goodness of caramel nestled within soft cookie layers. It’s a truly special recipe that stands out among more traditional dessert options.
Table of Contents
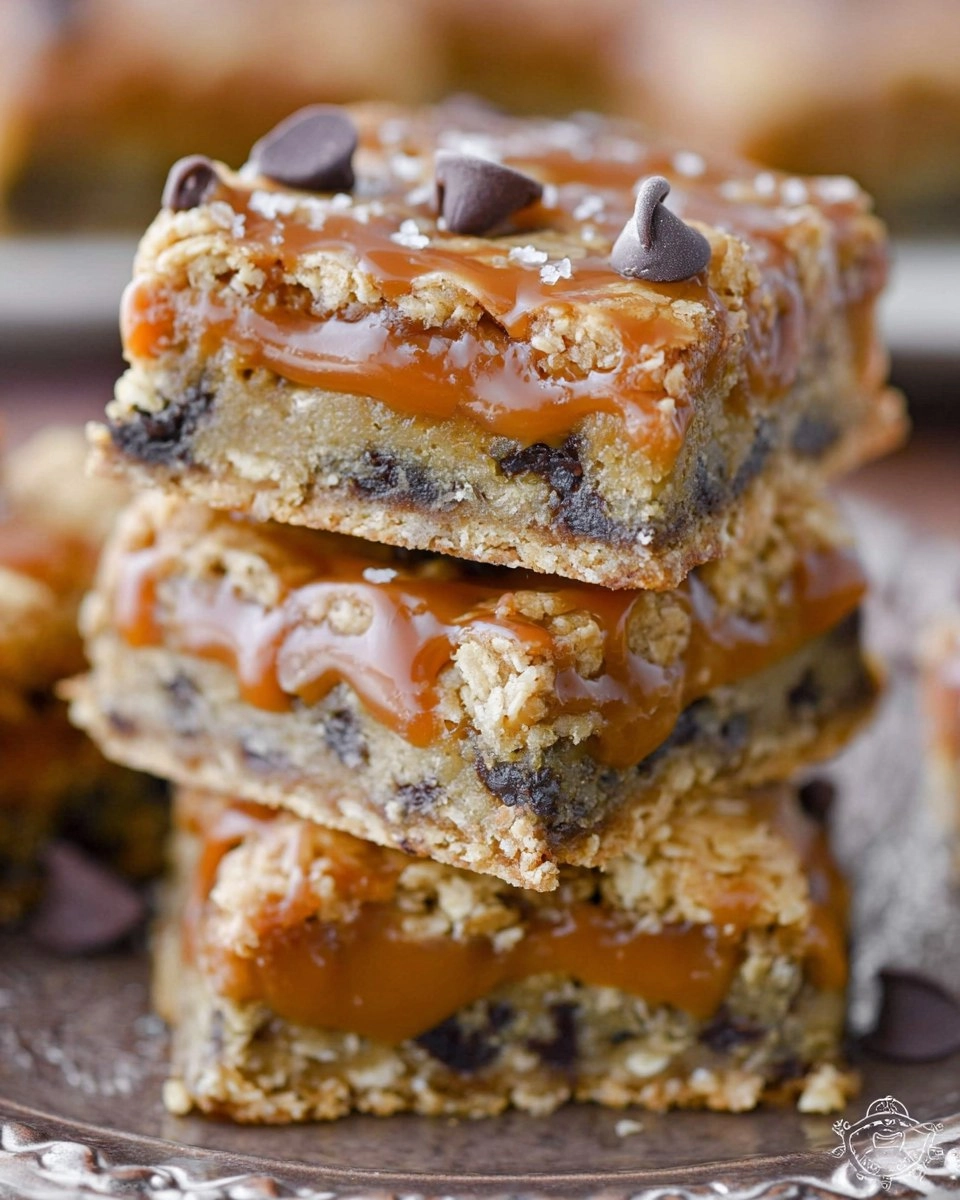
What I love most about Carmelitas is their versatility and impressive nature, despite being quite easy to make. Ideal for family gatherings, potlucks, or even cozy nights in with a movie, these treats are a hit regardless of the occasion. Plus, they are a fun and delicious alternative to store-bought desserts, bringing a homemade touch that elevates any dessert table. Trust me when I say, once you try these Carmelitas, you won’t only want to make them again and again, but you’ll also want to share the joy with friends and family. So, let’s get started on this delightful journey!
Why You’ll Love This Recipe
- Simple & Quick: Whipping up Carmelitas takes no time at all, ready in about an hour.
- Irresistible Flavor: A heavenly blend of rich chocolate, gooey caramel, and buttery cookie goodness makes each bite delightful.
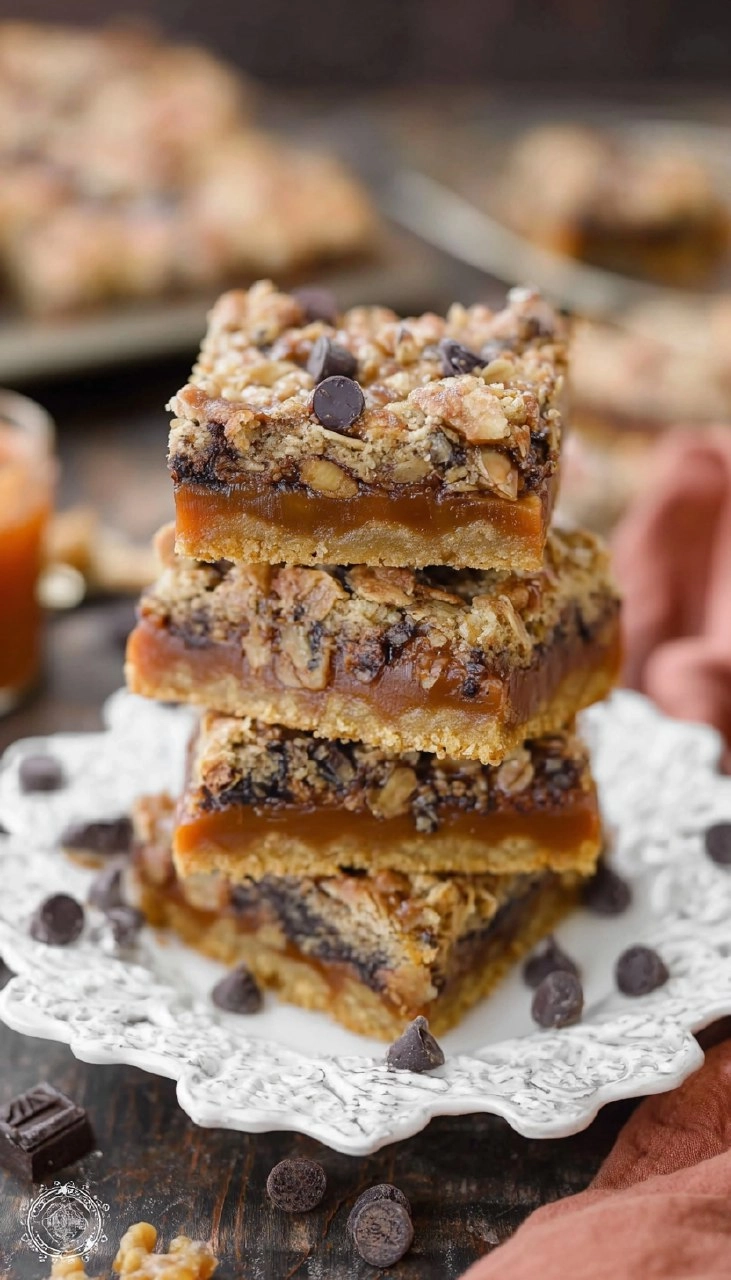
- Eye-Catching Appeal: Visually stunning and perfectly stacked, these bars look as fantastic as they taste.
- Flexible Serving: Perfect for any occasion, whether it’s a snack after school, dessert after dinner, or a meeting treat.
- Diet-Friendly Options: Easily adaptable if you seek gluten-free alternatives or different types of chocolate.
Ingredients You’ll Need
- 30 ounces chocolate chip cookie dough: You can choose refrigerated, store-bought dough, or make your own from scratch for a fresher taste. Homemade cookie dough is a fantastic option if you want to control the ingredients.
- 11 ounces caramels: These will melt beautifully and provide that ooey-gooey texture that makes Carmelitas so irresistible. Feel free to use your favorite brand or even caramel bits for easier melting.
- ¼ cup evaporated milk: This ingredient helps smooth out the caramel, creating a lovely drizzle that enhances the bar’s overall texture. If needed, sweetened condensed milk can serve as a good substitute.
- 1 cup semi-sweet chocolate chips: Adding extra chocolate chips creates layers of rich flavor, ensuring every bite is decadent. You can swap for dark chocolate or milk chocolate chips depending on your preference.
How to Make Carmelitas
- Preheat the oven: Start by preheating your oven to 350°F (175°C). This temperature is just right for baking those cookie layers to perfection.
- Prepare the base: Slice just over half of the cookie dough into approximately 1/4″ rounds, and lay them in a single layer in a parchment-lined 9-inch square baking pan. This forms the delicious base of your Carmelitas.
- Press down: Use your fingers to press the dough into a single, solid, and even layer, creating a foundation that will hold all the tasty layers together.
- Bake the crust: Bake for about 20 to 25 minutes, or until the edges turn golden brown. Once done, carefully remove from the oven and let cool slightly.
- Melt the caramels: Combine the unwrapped caramels and evaporated milk in a microwave-safe bowl. Heat on high for 1 minute, then stir. Continue heating in 30-second intervals until the caramel is fully melted and smooth.
- Add chocolate chips: Sprinkle the semi-sweet chocolate chips evenly over the slightly cooled cookie crust. This will create a perfect layer of chocolate that pairs beautifully with the caramel.
- Drizzle with caramel: Generously drizzle the melted caramel over the chocolate chips, ensuring that the caramel seeps into every nook and cranny.
- Top with remaining dough: Crumble the remaining cookie dough over the top of the caramel in uneven pieces. Don’t worry about it being perfect; the rustic look adds to the charm.
- Final bake: Return the Carmelitas to the oven and bake for another 12-15 minutes, or until the top begins to turn golden brown.
- Cool down: Allow the bars to cool to room temperature, then refrigerate for at least 2 hours to firm up the layers. When ready to enjoy, let them sit out for about 15 minutes before cutting and serving.
Storing & Reheating
Store your Carmelitas at room temperature in an airtight container for up to 3 days. If you want to keep them longer, refrigerate them for a week, ensuring they are sealed well to prevent drying out. You can also freeze Carmelitas for up to 3 months; simply wrap them tightly in plastic wrap and then in aluminum foil. To refresh before serving, reheat in the microwave for about 10-15 seconds to warm them slightly, enhancing their gooey texture.
Chef’s Helpful Tips
- Be careful not to over-bake the cookie crust; it should be just golden around the edges to keep it chewy.
- Ensure your caramels are completely melted; this creamy consistency is key to the success of your Carmelitas.
- For a richer flavor, try using a mix of chocolate chips, blending semi-sweet and dark chocolate for a more complex taste.
- If you prefer a bit of saltiness to contrast the sweetness, sprinkle a touch of sea salt on top before baking.
- To make Carmelitas ahead of time, feel free to prepare the entire dessert one day in advance and store it in the fridge.
Carmelitas beautifully blend flavors and textures, making them an instant favorite for anyone who tries them. These sweet bars provide a wonderful balance of chocolate and caramel wrapped in a cookie base. I encourage you to experiment with the recipe, perhaps adding nuts or trying different chocolate variety. The joy of baking comes from making it your own, and these Carmelitas make it easy to share deliciousness with those you love. Enjoy each bite, and here’s to creating warm memories from your kitchen!
Recipe FAQs
Can I make Carmelitas ahead of time?
Absolutely! You can prepare Carmelitas a day ahead. Just store them in an airtight container in the refrigerator to keep them fresh and flavorful.
Can I use a different type of chocolate?
Yes, feel free to swap semi-sweet chocolate chips for dark chocolate or milk chocolate chips according to your taste preference. Each variation brings a unique flavor!
How do I cut the Carmelitas neatly?
Allow them to cool completely and refrigerate for at least 2 hours. This will help them firm up and make cutting much easier. Use a sharp knife for clean cuts.
Why are my Carmelitas too gooey?
If your Carmelitas are too gooey, they may not have baked long enough or cooled completely before slicing. Aim for a golden brown top and ensure they chill long enough in the refrigerator before cutting.
PrintMore Desserts & Appetizers Recipes
- Raspberry Oat Bars
- Prosciutto Wrapped Fig
- Vanilla Cake | Easy Homemade Vanilla Layer Cake
- Guinness Chocolate Cake | Rich Moist Chocolate Cake
- Cucumber Avocado Salad (Creamy, and Ready in 10 minutes)
Did You Enjoy Making This Recipe? Please rate this recipe with ⭐⭐⭐⭐⭐ or leave a comment.
📖 Recipe Card
Carmelitas
- Prep Time: 5 minutes
- Cook Time: 45 minutes
- Total Time: 50 minutes
- Yield: 16 servings 1x
- Category: Desserts & Appetizers
- Method: Baking
- Cuisine: American
Description
Carmelitas are a delightful treat combining rich chocolate chip cookie dough, gooey caramel, and chocolate chips. They’re easy to prepare and ideal for satisfying your sweet cravings or impressing guests at gatherings!
Ingredients
- 30 ounces chocolate chip cookie dough, refrigerated, store-bought or homemade
- 11 ounces caramels
- ¼ cup evaporated milk
- 1 cup semi-sweet chocolate chips
Instructions
- Preheat the oven to 350°F.
- Slice a little more than half of the cookie dough into 1/4" rounds and layer them on a parchment-lined 9-inch square baking pan.
- Press the cookie dough into a solid, even layer.
- Bake for 20 to 25 minutes or until golden brown. Remove from the oven and let cool slightly.
- In a microwave-safe container, combine unwrapped caramels with evaporated milk and heat on high for 1 minute. Stir and continue heating in 30-second intervals until melted.
- Sprinkle chocolate chips over the cooled cookie crust.
- Drizzle the melted caramel over the chocolate chips.
- Crumble the remaining cookie dough on top of the caramel.
- Return the baking pan to the oven and bake for an additional 12-15 minutes until lightly golden brown.
- Allow to cool to room temperature, then refrigerate for at least 2 hours.
- Let sit for 15 minutes before cutting and serving.
Notes
For easier caramel melting, cut the caramels into smaller pieces before microwaving.
These bars store well in an airtight container in the fridge for several days.
Feel free to experiment with different types of chocolate chips like dark or white chocolate.
Nutrition
- Serving Size: 1 bar
- Calories: 250
- Sugar: 20g
- Sodium: 250mg
- Fat: 12g
- Saturated Fat: 5g
- Unsaturated Fat: 4g
- Trans Fat: 0g
- Carbohydrates: 34g
- Fiber: 1g
- Protein: 2g
- Cholesterol: 25mg