Easy Homemade Cherry Pie

Easy Homemade Cherry Pie is a dish that truly embodies comfort food at its finest. With its beautifully baked, flaky crust and a luscious filling made from ripe, juicy cherries, this pie is a delightful treat that’s perfect for any occasion. Each slice offers the perfect balance of sweet and tart flavors, giving your taste buds a satisfyingly fresh experience with every bite.
Table of Contents
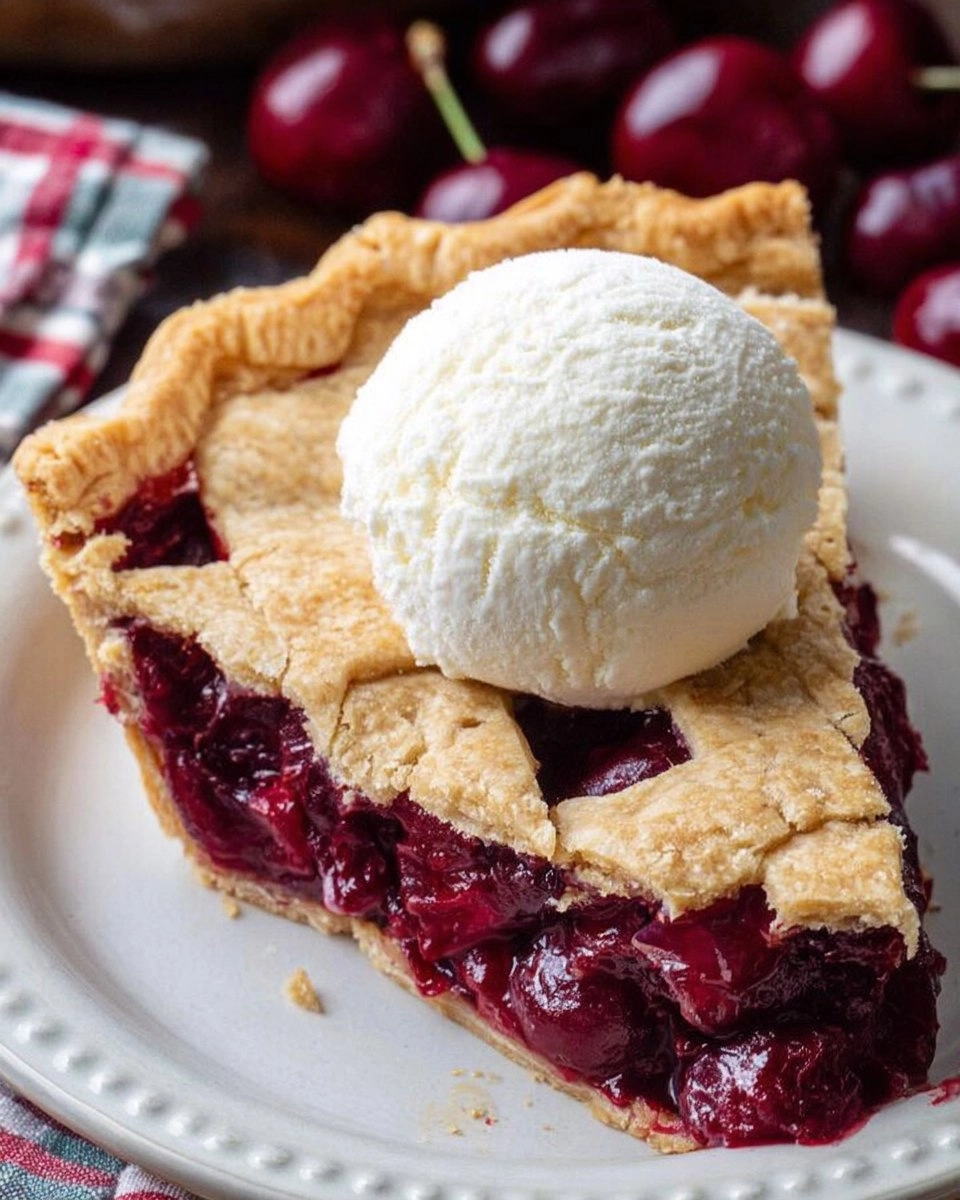
I first discovered this recipe during a summer cherry-picking adventure with family. We had more cherries than we knew what to do with, so naturally, a pie was in order. The process was simple and the results were heavenly. From the buttery aroma filling my kitchen as it baked to that first warm slice topped with a scoop of ice cream, I knew I had found a recipe worth sharing. Now, this Easy Homemade Cherry Pie has become a staple in my home, perfect for gatherings or just enjoying on a cozy evening. I invite you to try it and enjoy the delicious nostalgia it brings!
Why You’ll Love This Recipe
- Simple & Quick: Ready in about an hour and a half, perfect for last-minute cravings.
- Irresistible Flavor: The sweet-tart cherries paired with a buttery crust create a flavor explosion.
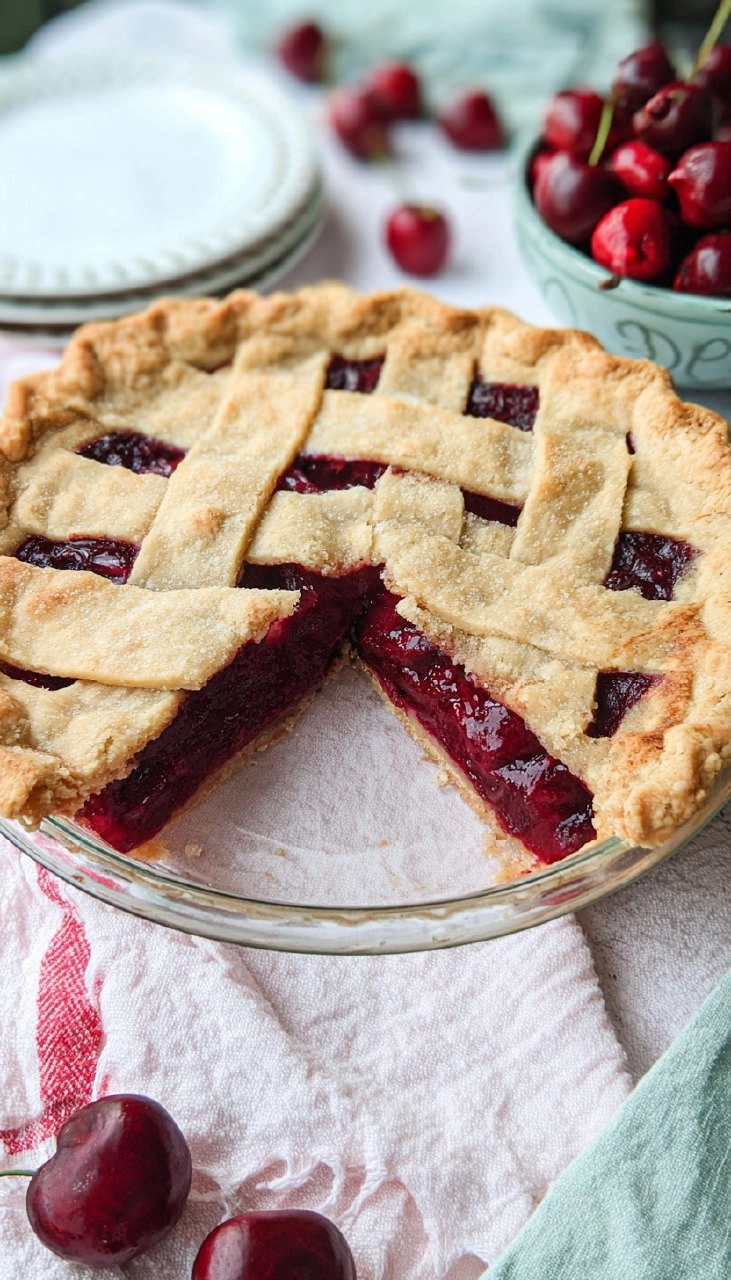
- Eye-Catching Appeal: The golden-brown crust and vibrant cherry filling are guaranteed to impress.
- Flexible Serving: Enjoy it warm or chilled, at dessert, brunch, or even breakfast!
- Diet-Friendly Options: You can easily adapt this recipe by using gluten-free flour or a non-dairy butter substitute.
Ingredients You’ll Need
- 2 cups Flour: All-purpose flour creates a tender crust. For a whole grain twist, consider using whole wheat flour.
- 1 cup Butter Flavored Crisco: This adds richness to the crust and helps achieve that flaky texture. Unsalted butter can also work but will change the flavor slightly.
- 1 tsp Salt: Salt enhances the overall flavors of both the crust and filling.
- 3-4 tbsp Cold Water: Helps bind the dough without making it tough; keep it ice cold for best results.
- 4 cups Fresh Cherries, Pitted: Fresh cherries offer the best flavor. You can use frozen cherries, just be sure to thaw and drain them first.
- 1 cup Sugar: Balances the tartness of the cherries; you can adjust to taste based on the sweetness of your cherries.
- 4 tbsp Cornstarch: This thickener helps the filling maintain the right consistency without making it soupy.
- 1 tsp Lemon Juice: Adds a bright note and enhances the flavor of the cherries.
- 1 tbsp Butter: A little dab of butter enhances richness in the filling.
- 3 tbsp Water: Used to simmer the filling; aids the sugar in dissolving.
How to Make Easy Homemade Cherry Pie
- Preheat the Oven: Set your oven to 400 degrees Fahrenheit. Preheating ensures an evenly cooked crust.
- Make the Dough: In a mixing bowl, combine 2 cups of flour, 1 cup of Butter Flavored Crisco, and 1 tsp of salt. Gradually stir in 3-4 tablespoons of cold water until the mixture forms a dough.
- Roll Out the Crust: Divide your dough in half. On a well-floured surface, roll out the first half until it’s about 1/8 inch thick. Transfer it to a pie pan, lightly pressing it into the bottom and up the sides.
- Prepare the Top Crust: Similarly, roll out the second half of the dough and set it aside.
- Prepare the Filling: In a medium saucepan, pit the cherries and combine them with 1 cup sugar, 4 tbsp cornstarch, 1 tsp lemon juice, 1 tbsp butter, and 3 tbsp water. Over medium heat, cook while stirring until the mixture thickens, becoming bubbly and fragrant.
- Fill the Pie: Pour the cherry filling into the prepared crust, spreading it evenly.
- Cover with Top Crust: Carefully place the second layer of rolled dough over the filling. Pinch the edges together to seal and trim off any excess dough.
- Vent the Pie: Make slits in the top crust to allow steam to escape during baking.
- Bake: Place your pie in the preheated oven and bake at 400 degrees for 15 minutes. Then, lower the temperature to 375 degrees and bake for an additional 30-45 minutes, or until the crust turns golden and the filling is bubbly around the edges.
Storing & Reheating
To store your delicious cherry pie, keep it at room temperature, covered, for up to two days. If you’d like it to last longer, refrigerate it for up to a week in an airtight container. For longer storage, you can freeze it for up to 3 months. Just ensure it is well-wrapped to prevent freezer burn. When you’re ready to enjoy, simply reheat in a 350-degree oven for about 15-20 minutes or until warmed through. Note that the crust may lose some crispness, so sprinkling a little water before reheating can help refresh it.
Chef’s Helpful Tips
- Avoid Tough Dough: Make sure your Crisco and water are very cold; this is key to a flaky crust.
- Don’t Skip the Venting: Cutting slits in the top of the pie allows steam to escape, preventing a soggy filling.
- Use Fresh Cherries When Possible: They provide a superior flavor compared to canned options. Just be sure to pit them properly!
- Make It Ahead: You can prepare the pie in advance and bake it before serving for the freshest taste.
- Try with Different Fruits: This cherry filling method works beautifully with blueberries, peaches, or apples.
The beauty of Easy Homemade Cherry Pie lies in its simplicity and charm. The delicious combination of flavors and textures comes together to create a warm, nostalgic dessert that everyone will love. Don’t hesitate to make this pie your own—experiment with different fruits, share it with family and friends, or simply indulge in a slice all to yourself. The warm, inviting scents of baking cherry pie will make your kitchen feel like home.
Recipe FAQs
Can I use frozen cherries for this pie?
Absolutely! Frozen cherries work well in this recipe. Just be sure to thaw and drain them first to avoid excess moisture in your filling. You may want to adjust the sugar based on their sweetness.
What can I do if my pie crust is too crumbly?
If your pie crust is too crumbly, it usually means it’s lacking moisture. You can fix this by gradually adding cold water, one tablespoon at a time, until the dough holds together without being sticky.
How long should I let the pie cool before serving?
It’s best to let your cherry pie cool for at least 2 hours before slicing. This allows the filling to set properly, making for neater slices. Plus, it’s a wonderful time to savor the lovely aroma while it cools!
Can I make this pie in advance?
Yes, you can prepare and assemble the pie a day ahead, then refrigerate it until you’re ready to bake. Just remember that baking from cold may take a few extra minutes. Enjoy the fresh-baked flavor without the fuss on pie day!
PrintMore Desserts & Appetizers Recipes
Did You Enjoy Making This Recipe? Please rate this recipe with ⭐⭐⭐⭐⭐ or leave a comment.
📖 Recipe Card

Easy Homemade Cherry Pie
- Prep Time: 30 minutes
- Cook Time: 45 minutes
- Total Time: 1 hour 15 minutes
- Yield: 8 servings 1x
- Category: Desserts & Appetizers
- Method: Baking
- Cuisine: American
Description
This Easy Homemade Cherry Pie features a buttery crust filled with juicy, sweet cherries. With a simple prep process and fresh ingredients, it’s perfect for anyone craving a delicious dessert.
Ingredients
- 2 cups Flour
- 1 cup Butter Flavored Crisco
- 1 tsp Salt
- 3–4 tbsp Cold Water
- 4 cups Fresh Cherries, Pitted
- 1 cup Sugar
- 4 tbsp Cornstarch
- 1 tsp Lemon Juice
- 1 tbsp Butter
- 3 tbsp Water
Instructions
- Preheat the oven to 400 degrees.
- In a bowl, combine flour, Crisco, and salt; stir in the cold water until a dough forms.
- Divide the dough in half, rolling out the first half on a floured surface and placing it into a pie pan, pressing gently to form the crust.
- Roll out the second half of the dough and set aside for the topping.
- Pit the cherries, then combine them in a medium saucepan with sugar, cornstarch, lemon juice, butter, and water; stir over medium heat until thickened.
- Pour the cherry filling into the prepared pie crust in the pie pan.
- Cover the filling with the second layer of rolled-out dough, pinching the edges together and trimming off any excess.
- Cut slits in the top crust to vent.
- Bake for 15 minutes at 400 degrees, then reduce temperature to 375 degrees and bake for an additional 30-45 minutes until the crust is golden brown.
Notes
Ensure the cherries are fresh and pitted for the best flavor.
Adjust the sugar based on the sweetness of the cherries used.
Let the pie cool before slicing for cleaner pieces.
Nutrition
- Serving Size: 1 slice
- Calories: 320
- Sugar: 24g
- Sodium: 150mg
- Fat: 14g
- Saturated Fat: 6g
- Unsaturated Fat: 8g
- Trans Fat: 0g
- Carbohydrates: 48g
- Fiber: 2g
- Protein: 3g
- Cholesterol: 15mg