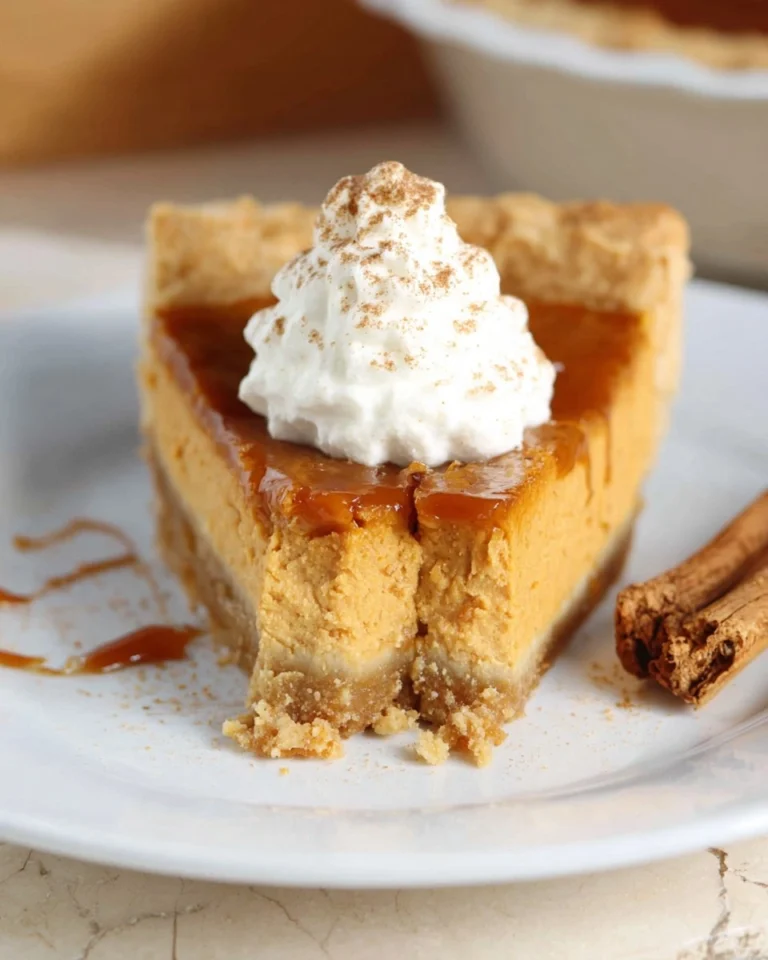
Cherry Pie Filling

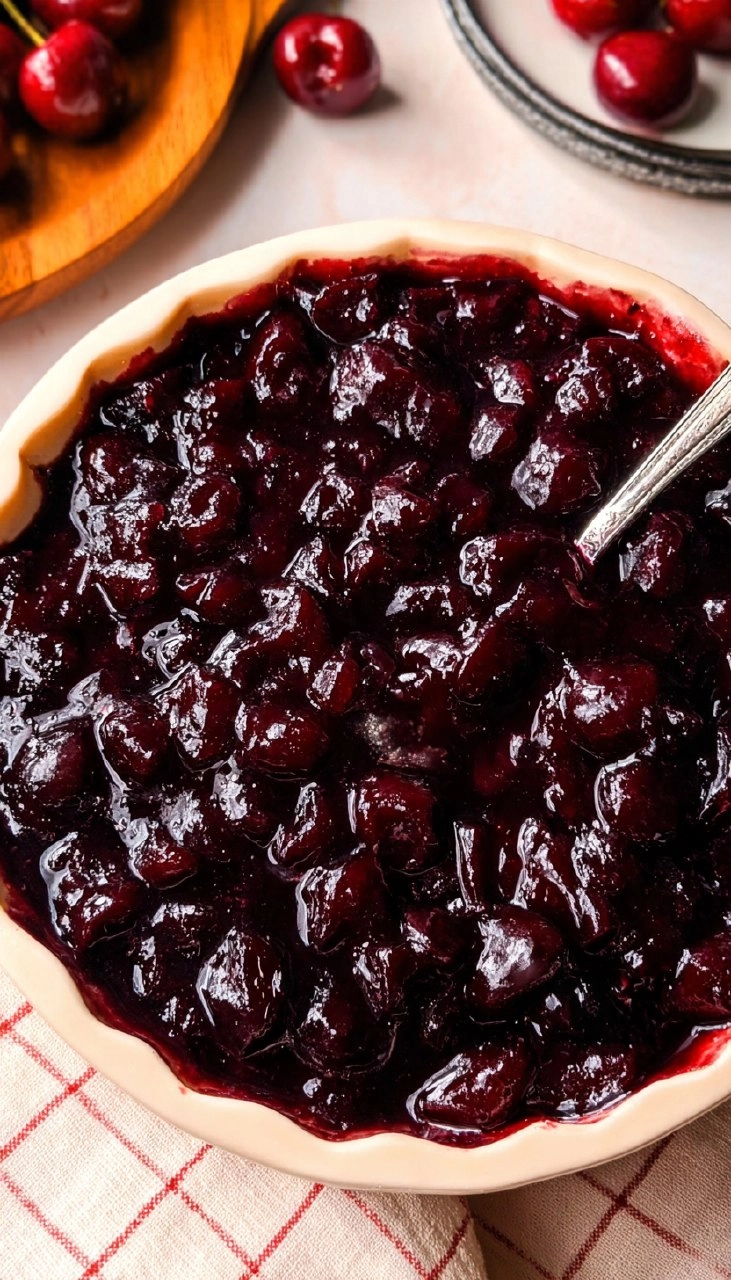
Cherry pie filling is a dreamy concoction that brings the essence of fresh cherries to life. Picture juicy, vibrant cherries bubbling away in a saucepan, transforming into a thick, luscious mixture perfect for topping your favorite desserts. Whether you’re baking a classic cherry pie, dolloping it on vanilla ice cream, or simply enjoying it straight from the bowl, this filling is bound to bring a smile to your face. It’s a nostalgic recipe that harkens back to summer days spent picking cherries and the cozy evenings of enjoying warm pie with loved ones.
Table of Contents

The beauty of homemade cherry pie filling lies in its simplicity and the ability to customize it to your taste. Fresh or frozen cherries, a touch of sugar, and a smidgen of almond extract make for an incredible flavor combination that highlights the sweetness and tartness of the fruit. Making this filling can be one of those simple yet satisfying kitchen moments, where the transformation of raw ingredients into something delightful feels like a small victory. So roll up your sleeves and let’s whip up some cherry pie filling you won’t be able to resist!
Why You’ll Love This Recipe
- Simple & Quick: With just a few ingredients and a little bit of time, this cherry pie filling can be ready in under 15 minutes!
- Irresistible Flavor: Sweet and slightly tart, the cherries blend perfectly with the almond extract, creating a heavenly taste.
- Eye-Catching Appeal: The vibrant red color of the filling is not only delicious but also adds a beautiful touch to any dessert.
- Flexible Serving: This cherry pie filling is perfect for pies, pancakes, yogurt, or even as a topping for your breakfast oatmeal.
- Diet-Friendly Options: Easily adaptable if you want sugar substitutes or to make it vegan by using fruit sweeteners!
Ingredients You’ll Need
- 1 lb Cherries (fresh or frozen): These are the stars of the show! Fresh cherries will give you the best flavor and texture, but frozen ones are a great convenience option when cherries are out of season. Just be sure to thaw them ahead of time if using frozen.
- 1/2 cup White granulated sugar: This enhances the natural sweetness of the cherries. Adjust based on the tartness of your cherries to taste.
- 1 TBSP Cornstarch: This thickener helps achieve that perfect pie-filling consistency, making it ooey-gooey and spoonable.
- 1 TBSP Water: A little moisture helps the cornstarch activate and thickens the filling without making it too runny.
- 1/4 tsp Almond extract: Adds a subtle nuttiness that beautifully complements the cherries. If you’re not a fan of almond, feel free to substitute with vanilla extract.
How to Make Cherry Pie Filling
Prepare the Cherries: If you’re using fresh cherries, take the time to pit them first. You can easily slice them in half and remove the pits. This step is crucial, as no one wants a surprise pit in their pie! If you’re using frozen cherries, make sure they’re fully thawed and drained.
Mix Ingredients: In a medium saucepan, combine the cherries, 1/2 cup white granulated sugar, 1 TBSP cornstarch, 1 TBSP water, and 1/4 tsp almond extract. Stir everything together until the cherries are well coated with the sugar and cornstarch.
Heat the Mixture: Place the saucepan over medium heat. Begin watching closely as the mixture heats up. As it warms, the cherries will start to release their juices, and you’ll notice the mixture becoming more fragrant.
Mash the Cherries: Next, grab a potato masher or fork and gently mash the cherries to your desired consistency. I love mashing them well so the filling is like a sweet cherry compote; however, you can also leave some chunks for a more rustic look if that’s your style.
Thicken the Filling: Continue heating the mixture for about 5-7 minutes until it thickens up nicely. You know it’s ready when it coats the back of a spoon, and the entire kitchen smells like cherry pie! Once thickened, take it off the heat and let it cool completely.
Chill (Optional): If you’re short on time, you can place the filling in the refrigerator to cool it down faster. It’ll be great to have a chilled filling ready for your baked goods!
Storing & Reheating
To keep your cherry pie filling fresh at room temperature, store it in an airtight container for up to 2 days. If you plan to save it for longer, refrigerate it in a well-sealed container, where it’ll last up to a week. For longer storage, you can freeze the filling for up to 3 months. Just portion it into freezer-safe bags or containers, leaving some space for expansion. To reheat, warm it gently on the stovetop over low heat, stirring frequently until heated through. You may notice the texture changes slightly once frozen and thawed, but a quick stir will help return it to a lovely consistency.
Chef’s Helpful Tips
- Avoid over-mashing: Leave some cherry pieces for texture and visual appeal.
- Adjust sweetness: Taste as you go! Different cherry varieties may require more or less sugar.
- Cornstarch tip: Make sure to fully dissolve the cornstarch in the mixture before heating for a smoother filling.
- Keep an eye on it: Don’t walk away while it’s thickening! The mixture can quickly go from perfect to too thick, so stir regularly.
- Make ahead: You can prepare this filling ahead of time and store it in the fridge or freezer, making last-minute desserts a breeze!
Cherry pie filling serves not only as a scrumptious treat but as a versatile ingredient that enhances everything from breakfasts to dessert spreads. It’s the sweetest way to harness the flavors of cherries in your cooking. Feel free to play around with the recipe or use different extracts to discover your favorite variations. Whether enjoyed on a slice of pie or as a topping, your homemade cherry pie filling is bound to be a hit at any gathering. Enjoy the process, and happy baking!
Recipe FAQs
How can I make cherry pie filling with frozen cherries?
Using frozen cherries for your cherry pie filling is incredibly easy! Simply thaw the cherries completely before using them in the recipe. Drain any excess liquid, and follow the same steps for mixing and heating. You’ll find that frozen cherries can yield a filling just as flavorful as fresh ones!
Can I use other types of cherries?
Absolutely! While sweet cherries are commonly used, tart cherries make for a delightful filling as well. If you prefer a more tart flavor, go for sour cherries and adjust the sugar depending on your taste. They add a great contrast for those who like their desserts less sweet.
What if my cherry pie filling is too runny?
If your filling turns out runny after cooking, it may not have thickened enough. You can further thicken it by making a cornstarch slurry with 1/2 tablespoon of cornstarch mixed with 1 tablespoon of cold water. Bring the filling back to a boil, then stir in the cornstarch mixture until thickened to your liking.
How long will cherry pie filling last in the freezer?
Your cherry pie filling can be frozen for up to three months without losing its flavor or texture. Just be sure to store it in an airtight container or zipper bag to keep out any air. When you’re ready to use it, simply thaw it in the refrigerator overnight or on the counter for a few hours before reheating!
PrintMore Desserts & Appetizers Recipes
- Homemade Cherry Crisp
- Easy Homemade Cherry Pie
- Easy Chickpea Salad
- No Bake Cherry Cheesecake
- Banana Split Fluff Salad
Did You Enjoy Making This Recipe? Please rate this recipe with ⭐⭐⭐⭐⭐ or leave a comment.
📖 Recipe Card

Cherry Pie Filling
- Prep Time: 5 minutes
- Cook Time: 15 minutes
- Total Time: 20 minutes
- Yield: 1 1/2 cups 1x
- Category: Desserts
- Method: Stovetop
- Cuisine: American
Description
This Cherry Pie Filling offers the perfect balance of sweetness and tartness. With fresh or frozen cherries at its core and simple ingredients, it’s an easy way to add flavor to your desserts. Enjoy this homemade filling in pies, tarts, or even over ice cream—it’s irresistibly delicious and simple to make!
Ingredients
- 1 lb Cherries, fresh or frozen
- 1/2 cup White granulated sugar
- 1 TBSP Cornstarch
- 1 TBSP Water
- 1/4 tsp Almond extract
Instructions
- Pit the fresh cherries if using; if using frozen, measure them out.
- In a medium saucepan, combine the cherries, sugar, cornstarch, water, and almond extract.
- Heat the mixture over medium heat until the juice from the cherries starts to separate and they soften.
- Mash the cherries to your desired consistency, using a potato masher or similar tool.
- Continue to heat the mixture until it thickens, yielding about 1 1/2 cups of filling.
- Transfer the filling to a bowl and allow it to cool completely, or place it in the fridge for quicker chilling.
Notes
Store any leftover filling in an airtight container in the fridge for up to a week.
This filling can be used in various desserts, not just pies!
Feel free to adjust the sugar according to your taste preference.
Nutrition
- Serving Size: 1/4 cup
- Calories: 90
- Sugar: 17g
- Sodium: 1mg
- Fat: 0.2g
- Saturated Fat: 0g
- Unsaturated Fat: 0g
- Trans Fat: 0g
- Carbohydrates: 23g
- Fiber: 1g
- Protein: 1g
- Cholesterol: 0mg