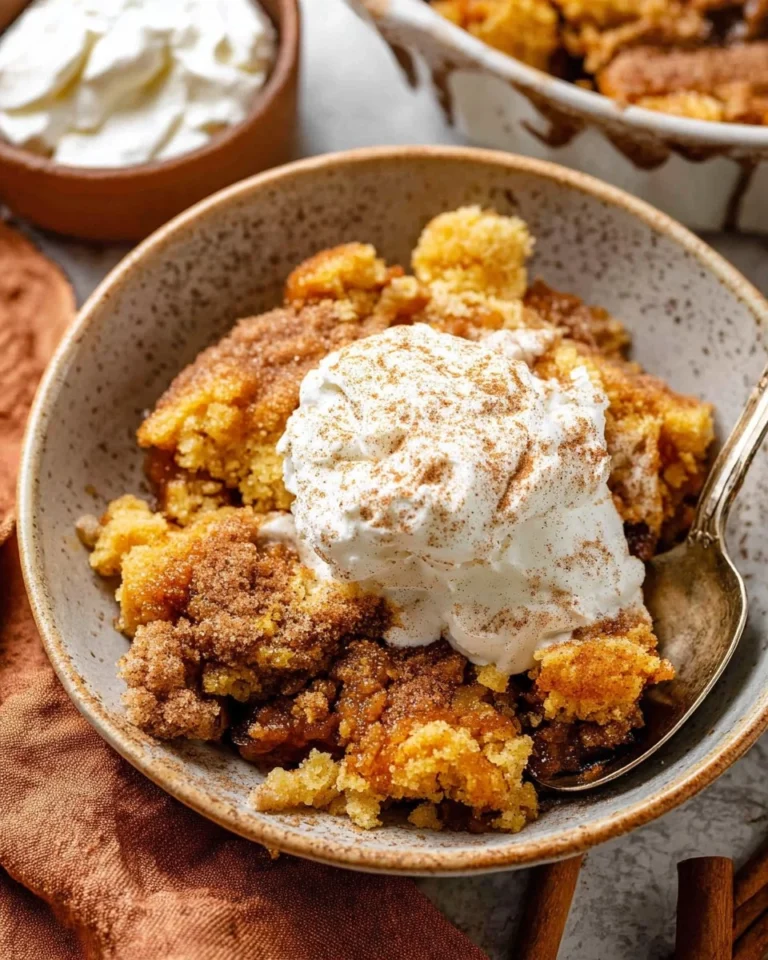
How To Crimp Pie Crust

How To Crimp Pie Crust
Table of Contents
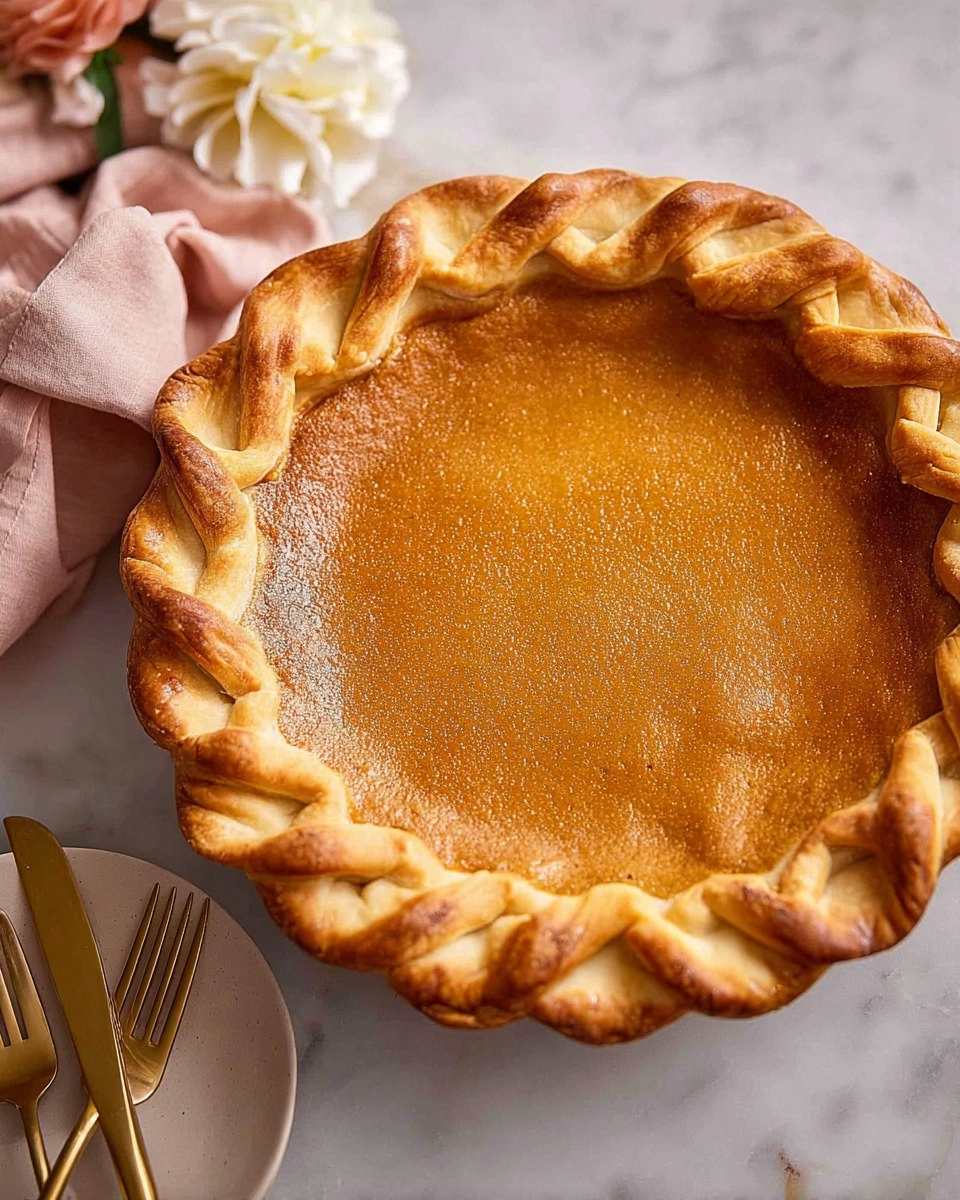
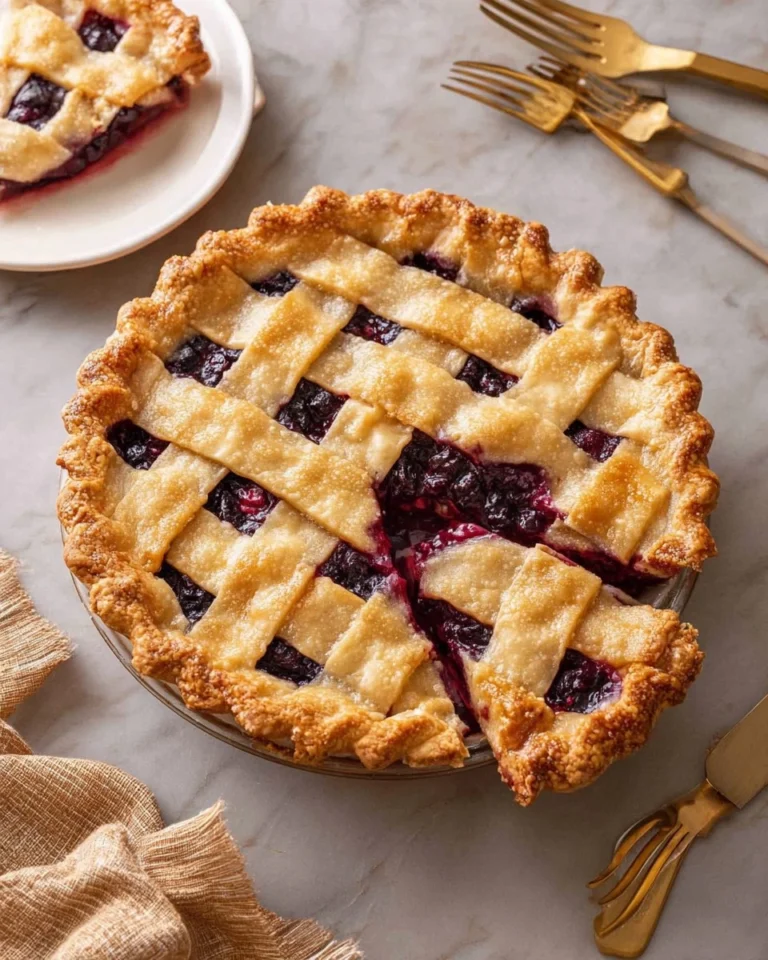
There’s something so satisfying about a beautifully crimped pie crust. It’s the finishing touch that elevates a simple dessert into a work of art, doesn’t it? Whether you’re making a classic apple pie or a rich chocolate tart, the way you crimp the edges can set the tone and make it feel special. A well-crimped crust not only looks appealing, but it also plays a vital role in containing all that gooey filling inside.
Personally, I remember the first time I attempted to crimp a pie crust. I had watched countless baking shows, and I was determined to recreate that perfect wave-like finish. It was a bit awkward at first, but with practice, I found my technique—and it became one of my favorite aspects of baking. The moment you take your pie from the oven and slice into it, that crimped edge shines, and it’s such a joy to share. So let’s roll out those doughs and get cracking on how to crimp pie crust like a pro!
Why You’ll Love This Recipe
- Simple & Quick: Crimping might sound fancy, but it’s actually an easy addition that can be done in a matter of minutes.
- Irresistible Flavor: A well-made crust complements your sweet or savory filling, marrying flavors beautifully.
- Eye-Catching Appeal: That decorative edge brings a visual pop, making your pie the star of any gathering.
- Flexible Serving: Perfect for holidays, family gatherings, or simply satisfying a sweet craving any time.
- Diet-Friendly Options: Adaptable for gluten-free or vegan diets with the right substitutions.
Ingredients You’ll Need
- Pie dough: Rolled into a 12- to 14-inch circle, about ⅛-inch thick. Homemade or store-bought works well—homemade gives you that fresh touch!
- Flour: For dusting your counter, fingers, and tools to prevent sticking. Use all-purpose flour for best results.
- Water or egg wash: This is optional, used to help decorative cutouts stick to the crust, giving it that extra flair.
- Beaten egg, egg + water, or egg + cream: Also optional, this is used for an egg wash to provide a beautiful, shiny finish to your crust once baked.
How to Make How To Crimp Pie Crust
- Prepare the Dough: Roll out the pie dough on a lightly floured surface until it’s about 12 to 14 inches in diameter. Rotate it frequently to prevent sticking—this is crucial to ensure even thickness.
- Fit the Dough in the Pan: Gently press the dough into a 9-inch pie pan, leaving the excess hanging over the edges. Ensure there are no gaps, as this will help prevent leaks.
- Trim the Overhang: Using a sharp knife or kitchen scissors, trim the overhanging dough to about 1 inch beyond the edge of the pan.
- Tuck the Overhang: Tuck the 1-inch overhang under itself, creating a double-thickness rim that rests against the lip of the pie pan. This adds strength and keeps the edges from shrinking while baking.
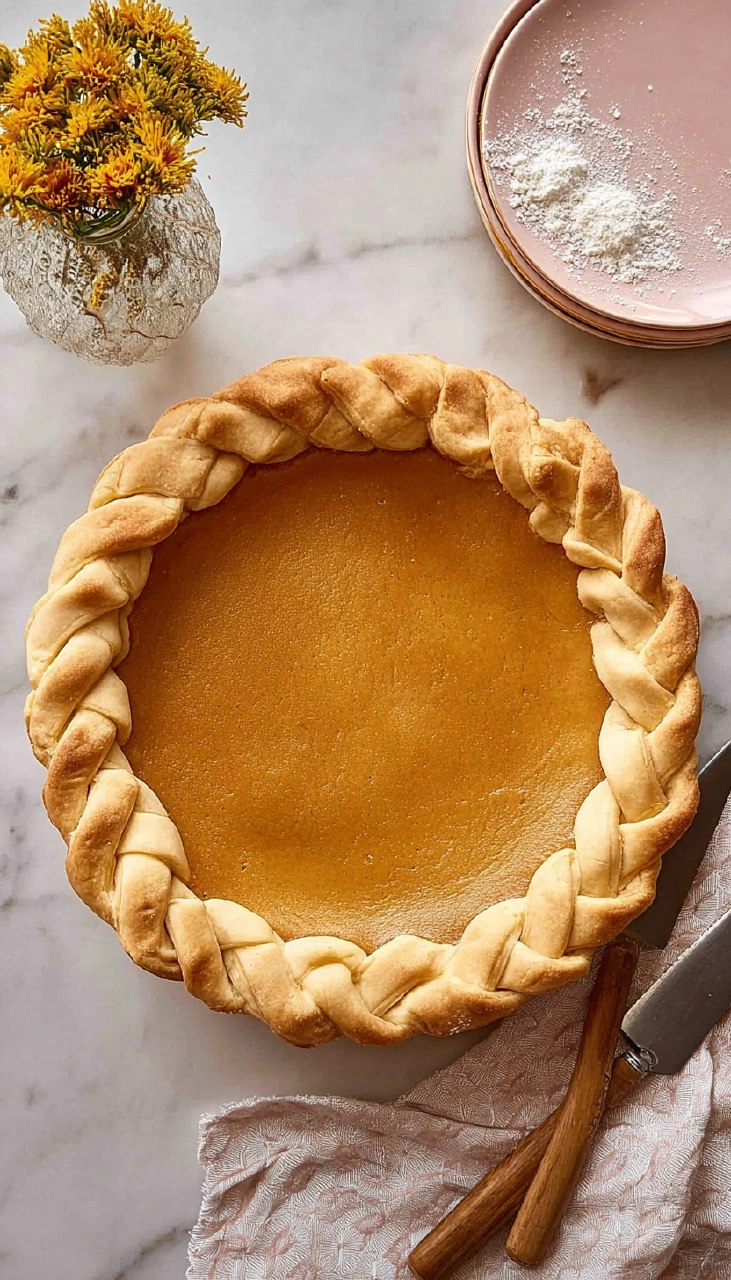
- Choose Your Crimping Technique: Now’s the fun part! Select your desired crimping style—Classic Fluted, Fork, Rope, or Spoon. Each offers a unique aesthetic, so feel free to get creative!
- Chill Before Baking: For best results, chill your crimped pie in the freezer for about 15-20 minutes or in the fridge for 30 minutes before baking. This helps the crimp hold its shape and minimizes shrinking.
Storing & Reheating
If you have leftover pie crust dough, you can store it at room temperature for a few hours. For longer storage, place it in an airtight container in the refrigerator, where it will last for about 3 days. If you want to freeze it, wrap it tightly in plastic wrap and then place it in a freezer bag for up to three months. To reheat, simply pop it in the oven at 350°F for about 10 minutes. Note that the texture might change slightly, but a quick refresh in the oven will have it tasting as good as new!
Chef’s Helpful Tips
- Avoid stretching the dough while crimping; this can cause it to shrink during baking.
- For easier handling, keep your dough cold. If it warms up too much, pop it back in the fridge.
- Experiment with different crimping styles to find your favorite!
- If you’re looking to add flavor, consider brushing the crust with melted butter before baking.
- Precision is key—make sure your edges are even for a professional look!
Creating a crimped pie crust is both an art and a practical skill that enhances any dessert. It provides a great vessel for all your favorite fillings while being a slightly therapeutic process to master. So roll up your sleeves and savor the joys of baking!
Recipe FAQs
Can I use store-bought pie crust for crimping?
Absolutely! Store-bought pie crust can save you time and still produce a lovely pie. Just make sure to follow the same crimping methods—it’s all about making it your own.
What if my pie crust is too dry?
If your dough feels dry or crumbly, it might be missing moisture. You can sprinkle a tiny bit of cold water on it and gently knead until smooth. Be careful not to overwork it, as this can toughen the crust.
How can I prevent my pie crust from shrinking?
To minimize shrinkage, ensure that your dough is chilled before baking. Also, avoid stretching the dough when fitting it into the pan. A well-formed crust will hold its shape better.
Can I make the pie crust ahead of time?
Definitely! You can prepare the crust up to three days in advance and store it wrapped in plastic in the refrigerator. You can also freeze it for up to three months. Just remember to thaw it in the fridge before using.
Let me know if you have any other questions or curious tips! Happy baking!
PrintMore Desserts & Appetizers Recipes
- Blackberry Pie
- Pear Galette
- Apple Blueberry Pie with Flaky Lattice Crust
- Raspberry Nutella Heart Pies
- How to Make Chocolate Meringue Pie
Did You Enjoy Making This Recipe? Please rate this recipe with ⭐⭐⭐⭐⭐ or leave a comment.
📖 Recipe Card

How To Crimp Pie Crust
- Prep Time: 5 minutes
- Cook Time: Varies (for filling)
- Total Time: 0 hours
- Yield: 1 9-inch pie 1x
- Category: Dessert
- Method: Baking
- Cuisine: American
Description
This simple recipe for crimping pie crust results in a beautiful finish. Perfect for any occasion, it features easy steps, essential ingredients like pie dough and egg wash, ensuring your pies look delightful and taste amazing!
Ingredients
- 1 pie dough (rolled into a 12- to 14-inch circle, about ⅘-inch thick)
- Flour (for dusting counter, fingers, and tools)
- 1 tbsp water or egg wash (for decorative cutout glue, optional)
- 1 beaten egg, or 1 egg + 1 tbsp water, or 1 egg + 1 tbsp cream (for egg wash, optional)
Instructions
- Roll the dough out into a 12- to 14-inch circle, approximately ⅘-inch thick, using flour on your counter to prevent sticking.
- Press the rolled dough into a 9-inch pie pan, allowing the excess dough to hang over the edge and ensuring it fits snugly without gaps.
- Trim the excess dough to about 1 inch beyond the pan's edge.
- Fold the 1-inch overhang under itself to create a double-thick rim that rests on the pan's lip.
- Select your preferred crimping method (such as Classic Fluted, Fork, Rope, Spoon, or Decorative Cuts) and apply it to the edges of the crust.
- Chill the prepared pie in the freezer for 15-20 minutes or in the refrigerator for 30 minutes before baking, to help maintain the shape of the crimp.
Notes
For a golden finish, brush the edges with an egg wash just before baking.
Experiment with different crimping techniques to find your favorite look.
Make sure to chill the crust to keep it flaky when baking.
Nutrition
- Serving Size: 1 slice
- Calories: 150
- Sugar: 0g
- Sodium: 150mg
- Fat: 7g
- Saturated Fat: 1g
- Unsaturated Fat: 6g
- Trans Fat: 0g
- Carbohydrates: 20g
- Fiber: 1g
- Protein: 2g
- Cholesterol: 35mg