How To Make A Pie Crust Shield

Creating the perfect pie is an art, but sometimes it feels like your pie crust just can’t keep up with your delicious fillings. From bubbling fruit juices to golden brown edges, your pie deserves to look as good as it tastes. That’s where making a pie crust shield comes in. This simple yet effective kitchen hack ensures that the edges of your pie crust stay beautifully intact while the filling bakes to perfection.
Table of Contents
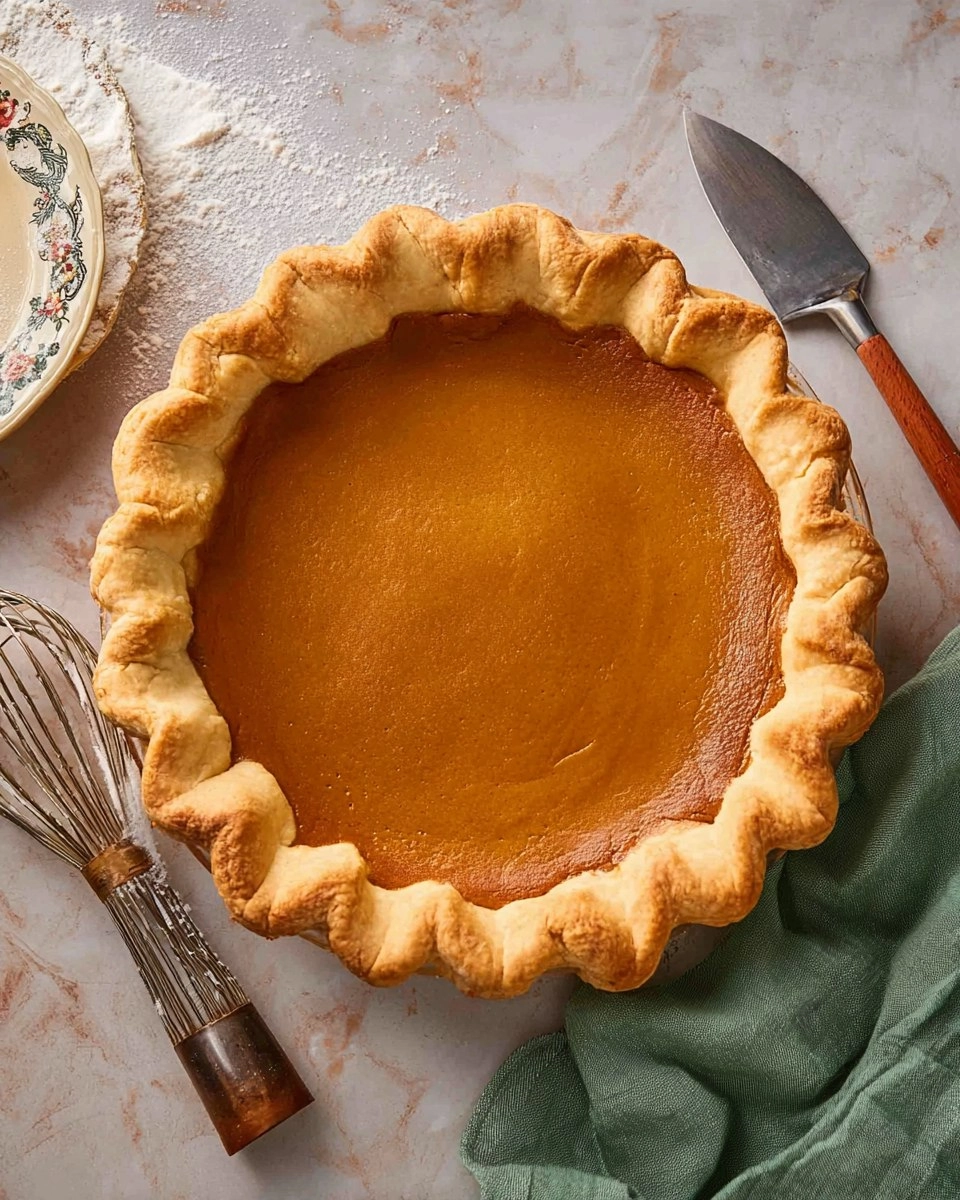
I still remember the first time I struggled with a runaway crust, despite my best efforts to crimp and pinch. The crust burned while the filling remained undercooked, and I was left more than a little frustrated. Then, I stumbled upon the concept of a pie crust shield. It’s incredibly easy to make! Now, I can bake with confidence, knowing my pie crust will emerge golden, not burnt. If you want to ensure your pie looks just as delightful as it tastes, learning how to make a pie crust shield is an essential skill!
Why You’ll Love This Recipe
- Simple & Quick: You’ll whip this up in no time—just a few minutes to prepare!
- Irresistible Flavor: An unburned crust not only looks great but also elevates the entire pie experience.
- Eye-Catching Appeal: A nicely shielded crust creates a picture-perfect presentation that’s sure to impress.
- Flexible Serving: Perfect for any occasion—thanksgiving, family gatherings, or just a cozy night in.
- Budget-Friendly: All you need is aluminum foil, making it an economical kitchen solution.
Ingredients You’ll Need
- Aluminum foil (enough to create strips and a full cover for the pie): This is the star of your show! The foil protects the edges from burning while allowing the filling to bake thoroughly. If you don’t have aluminum foil on hand, parchment paper can work in a pinch, though it may not stay securely in place as well.
How to Make How To Make A Pie Crust Shield
- Prepare Your Foil Strips: Begin by cutting two to three long strips of aluminum foil, each about 12 inches long. Fold each strip in half lengthwise. This helps to add thickness and prevent any burns.
- Shield the Edges: Now, take one of your folded strips and press it against the edge of the pie plate to cover a portion of the crust. Make sure to press gently for a snug fit.
- Repeat As Necessary: Continue this process with additional strips, working your way around the pie until the entire edge of the crust is covered with foil. Keep the center of the pie exposed for even baking.
- Create the Center Part: Next, grab a square piece of foil large enough to cover the entire pie with some overhang—about 12 inches should do the trick. Fold it in half, then fold it in half again to create a smaller square.
- Shape the Shield: Fold the foil in half diagonally, forming a triangle shape. This will help create the circular cut-out needed for your pie.
- Cut Out the Center: Measure around 4 inches up from the folded point of the triangle. Make a gentle, curved cut from edge to edge, removing the tip. This will leave you with a circular hole in the center of the foil.
- Place the Shield on the Pie: Unfold your newly cut pie crust shield, and you’ll see an 8-inch diameter circle. Place this shield over the pie, ensuring that the center remains exposed. Gently fold the excess foil down over the edges of the pan to protect your crust while allowing the filling to shine.
Storing & Reheating
If you happen to have leftover pie crust shield scraps, you can store them at room temperature for a day. However, it’s best to use foil fresh for every bake for optimal results. If you choose to make your pie ahead of time, allow it to cool completely before wrapping it loosely with plastic wrap and refrigerating for up to three days. To reheat, place the pie on a baking tray and warm it in an oven preheated to 350°F for about 15-20 minutes, ensuring it’s heated through without compromising the crust.
Chef’s Helpful Tips
- Be careful not to let the edges of the foil touch any flame or heating element, as this can cause a fire hazard.
- If you’re worried about your foil slipping, use small pieces of dough to secure it on the edge of the crust.
- Remember that different pie fillings have different baking times; adjust your baking time according to whether you are baking a fruit pie or a custard-based pie.
- This shield technique can be adapted for other baked goods, like quiches or tarts, providing an all-in-one solution for baking perfection.
There’s nothing quite as satisfying as pulling a beautiful, golden pie from the oven. When you take the time to protect your crust with a pie crust shield, not only are you ensuring a gorgeous appearance, but you’re also elevating the overall enjoyment of your homemade dessert. Experiment with this approach and surprise your family and friends at your next gathering; you’ll be known as the pie master in no time!
Recipe FAQs
How long do I need to bake the pie with the shield?
The baking time will vary depending on the type of pie you’re making. Generally, pies take anywhere from 40 to 60 minutes. Keep a close eye on the crust and filling as it bakes. Once the center is bubbly and the crust is golden, it’s time to remove it from the oven.
Can I make the shield ahead of time?
Absolutely! You can prepare your strips of foil in advance and keep them stored at room temperature. Just remember not to assemble them until you’re ready to bake. Keeping them flat will help maintain their shape.
Will using a crust shield change the flavor of my pie?
No, the foil will not impart any flavors to your pie. It simply acts as a barrier to prevent burning—the real taste of your pie comes from the high-quality ingredients you use in your filling and crust.
Can I use something other than aluminum foil for a pie shield?
Although aluminum foil works best, you can use parchment paper in a pinch. Just be mindful that it may not stay secure as the foil does, potentially leading to accidental burns on the crust.
Now, grab your aluminum foil and prepare to create a stunning pie crust shield that makes your pie presentations something to rave about! Remember, each crust you protect is a step toward pie perfection. Happy baking!
PrintMore Main Dishes Recipes
Did You Enjoy Making This Recipe? Please rate this recipe with ⭐⭐⭐⭐⭐ or leave a comment.
📖 Recipe Card

How To Make A Pie Crust Shield
- Prep Time: 5 minutes
- Cook Time: 0 minutes
- Total Time: 5 minutes
- Yield: 1 pie crust shield 1x
- Category: Baking
- Method: Assembling
- Cuisine: American
Description
This pie crust shield is a quick, effective way to ensure your crust bakes evenly without burning. Using just aluminum foil, you can create a protective barrier while the filling cooks, resulting in a delicious, browned crust that perfectly complements your pie’s flavor.
Ingredients
- 2–3 strips aluminum foil (12 inches each)
Instructions
- Cut two to three long strips of foil, about 12 inches each.
- Fold each strip in half lengthwise.
- Press one strip of foil against the side of the pie plate to cover part of the crust edge.
- Repeat with another strip of foil to continue covering the crust edge.
- Add one more strip if needed to cover the entire edge of the pie crust, leaving the center mostly uncovered.
Notes
Ensure the foil strips are folded firmly to create a sturdy shield.
Replace foil if it becomes too dark during baking.
This method works best for pies with a longer baking time.
Nutrition
- Serving Size: 1 pie crust shield
- Calories: 20
- Sugar: 0g
- Sodium: 0mg
- Fat: 0g
- Saturated Fat: 0g
- Unsaturated Fat: 0g
- Trans Fat: 0g
- Carbohydrates: 0g
- Fiber: 0g
- Protein: 0g
- Cholesterol: 0mg