Homemade Garlic Rolls

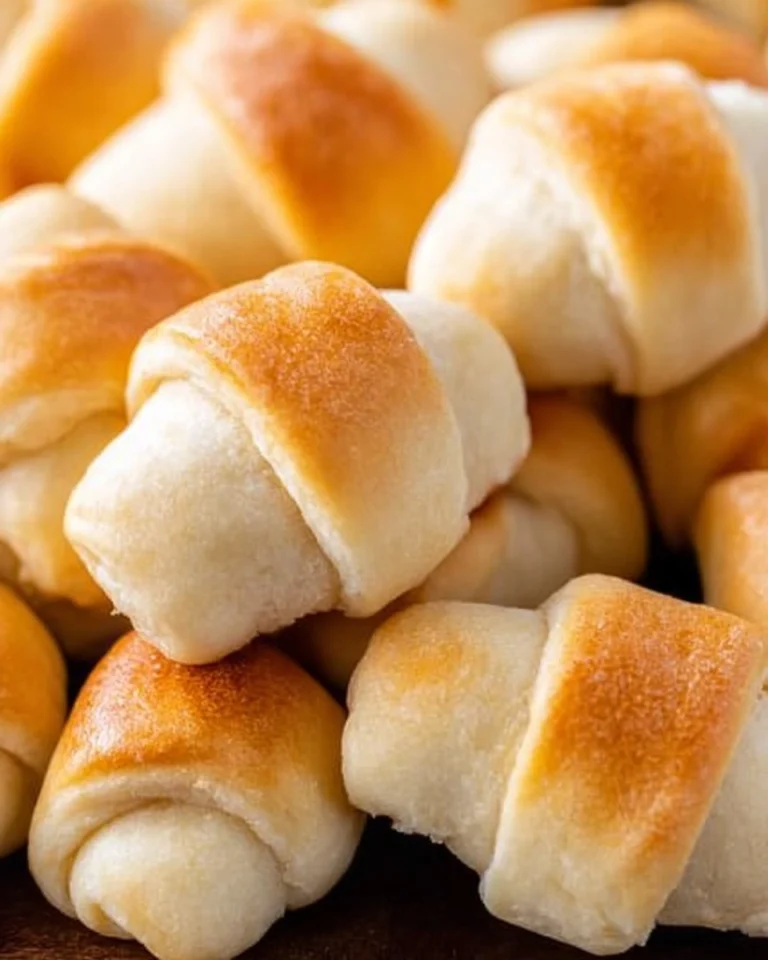
Homemade Garlic Rolls have a special place in my heart, and it’s not just because they’re irresistibly delicious. Picture this: warm, fluffy rolls that you can pull apart with your hands, each one generously filled with rich garlic butter and hints of Italian seasoning. They’re perfect for family dinners, gatherings, or simply when that comforting bread craving hits. Trust me, once you try making these at home, the store-bought options will pale in comparison.
Table of Contents
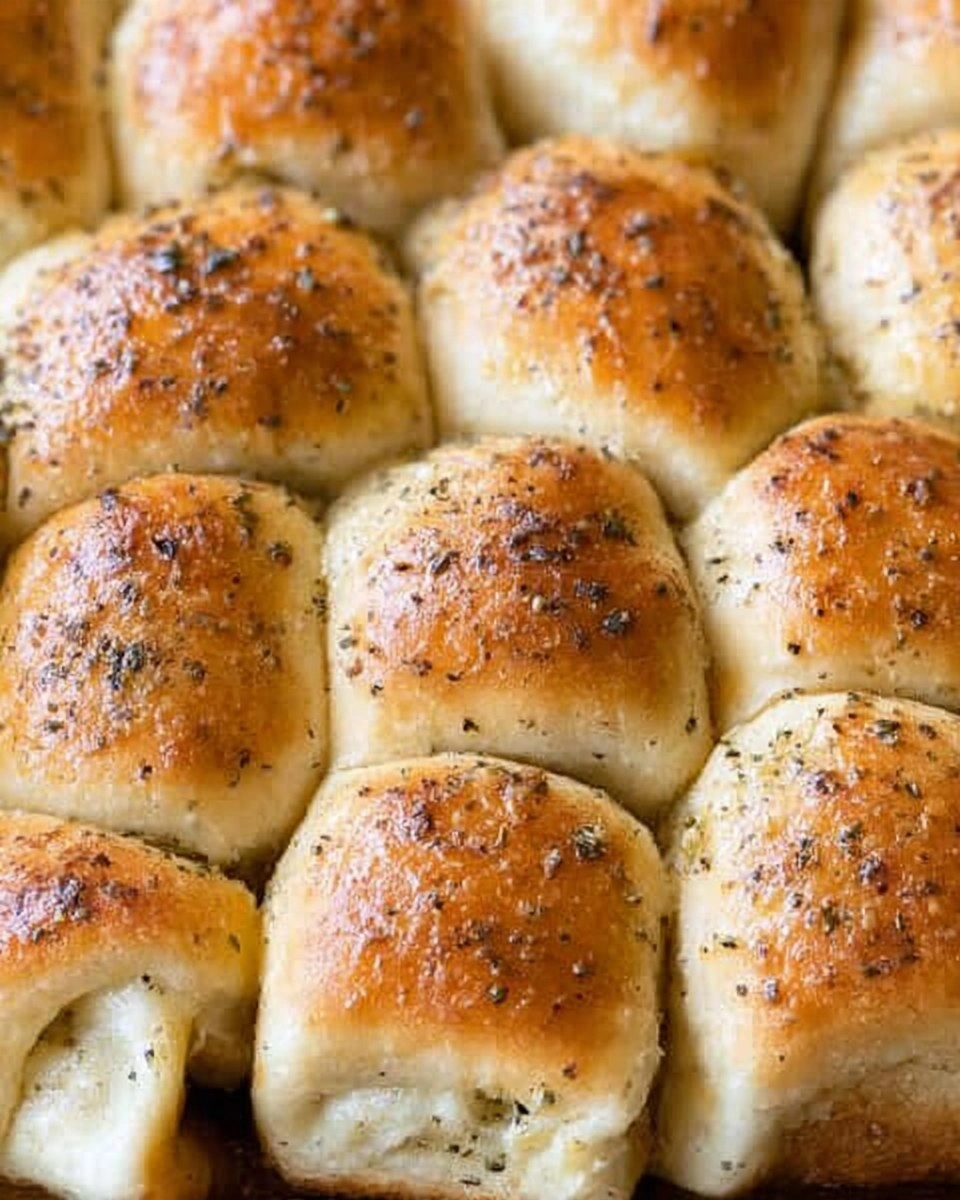
The magic of these bread rolls lies in their simplicity. With just a few pantry staples and a little patience, you can create something truly wonderful. The aroma wafting through your kitchen while they bake is enough to pull everyone in for a taste. So, roll up your sleeves and let’s dive into this delightful Homemade Garlic Rolls recipe that you can’t wait to serve!
Why You’ll Love This Recipe
- Simple & Quick: With only about 40 minutes of hands-on time, these rolls are easy to whip up!
- Irresistible Flavor: The combination of garlic, butter, and Italian herbs creates a mouthwatering experience in every bite.
- Eye-Catching Appeal: Fluffy and golden, these rolls are visually stunning and perfect for any table.
- Flexible Serving: Enjoy them at dinner, brunch, or as a delicious snack anytime.
- Diet-Friendly Options: Just a few ingredient swaps can make these rolls gluten-free or dairy-free.
Ingredients You’ll Need
- 4 ¾ to 5 ¼ cups all-purpose flour: This forms the base of the dough and gives it that lovely texture. For a lighter roll, use bread flour instead.
- ⅓ cup granulated sugar: A little sweetness to balance the savory garlic flavor. Brown sugar can be a suitable substitute for a deeper taste.
- 2 envelopes instant yeast: Essential for making the dough rise quickly. You can also use active dry yeast, just remember to activate it in warm water first.
- 1 ½ teaspoons salt: Enhances flavor and strengthens the dough structure.
- ¾ cup milk: Adds richness to the rolls. Use whole milk for the best results, or opt for almond milk for a dairy-free alternative.
- ¾ cup water: Hydrates the dough. Warm water (120° to 130°F) is essential for yeast activation.
- ¼ cup unsalted butter: Adds a delicious richness to the dough. If you need to go dairy-free, use a plant-based butter.
- 1 large egg: Eggs add moisture and richness to the rolls. You can use a flaxseed egg for a vegan option.
- ¼ cup unsalted butter, melted: For brushing the rolls before and after baking, infusing them with flavor. Replace with olive oil for a healthier twist.
- 1 teaspoon Italian seasoning: Adds a lovely herby flavor. Fresh herbs would work too if you have them on hand.
- ½ teaspoon garlic powder: Boosts the garlicky goodness of the rolls.
How to Make Homemade Garlic Rolls
- Combine Dry Ingredients: In a large mixer bowl, whisk together 2 cups of all-purpose flour, ⅓ cup granulated sugar, 2 envelopes of instant yeast, and 1 ½ teaspoons salt until well mixed.
- Heat Wet Ingredients: In a measuring cup, combine ¾ cup milk, ¾ cup water, and ¼ cup unsalted butter. Microwave until it is very warm, about 120° to 130°F. Use a thermometer for accuracy or trust your instincts—aim for a hot bath water feel.
- Mix Dough: Pour the warm wet ingredients into the flour mixture. Beat with an electric mixer on medium speed for about 2 minutes, scraping the bowl occasionally. Add in 1 large egg and ½ cup of flour, then beat at high speed for another 2 minutes.
- Create Soft Dough: Gradually stir in enough of the remaining flour to form a soft dough. It should feel slightly sticky to the touch.
- Knead the Dough: Transfer the dough to a floured surface and knead it for about 8 to 10 minutes. Ideally, it should become smooth and elastic, springing back slightly when you poke it with two fingers.
- Rest the Dough: Cover the dough and let it rest for 10 minutes. This is a short break for the gluten to relax.
- Refrigerate (Optional): If you want to make the rolls ahead of time, you can place the dough in a greased bowl, cover it with plastic wrap, and refrigerate for 12 to 24 hours.
- Prepare for Shaping: Divide the dough in half and roll each piece into a 12-inch square, about ¼ inch thick.
- Cut the Dough: Slice each square into 6 strips and then cut each strip into 3 rectangles.
- Mix Filling: In a small bowl, stir together the melted butter, 1 teaspoon Italian seasoning, and ½ teaspoon garlic powder.
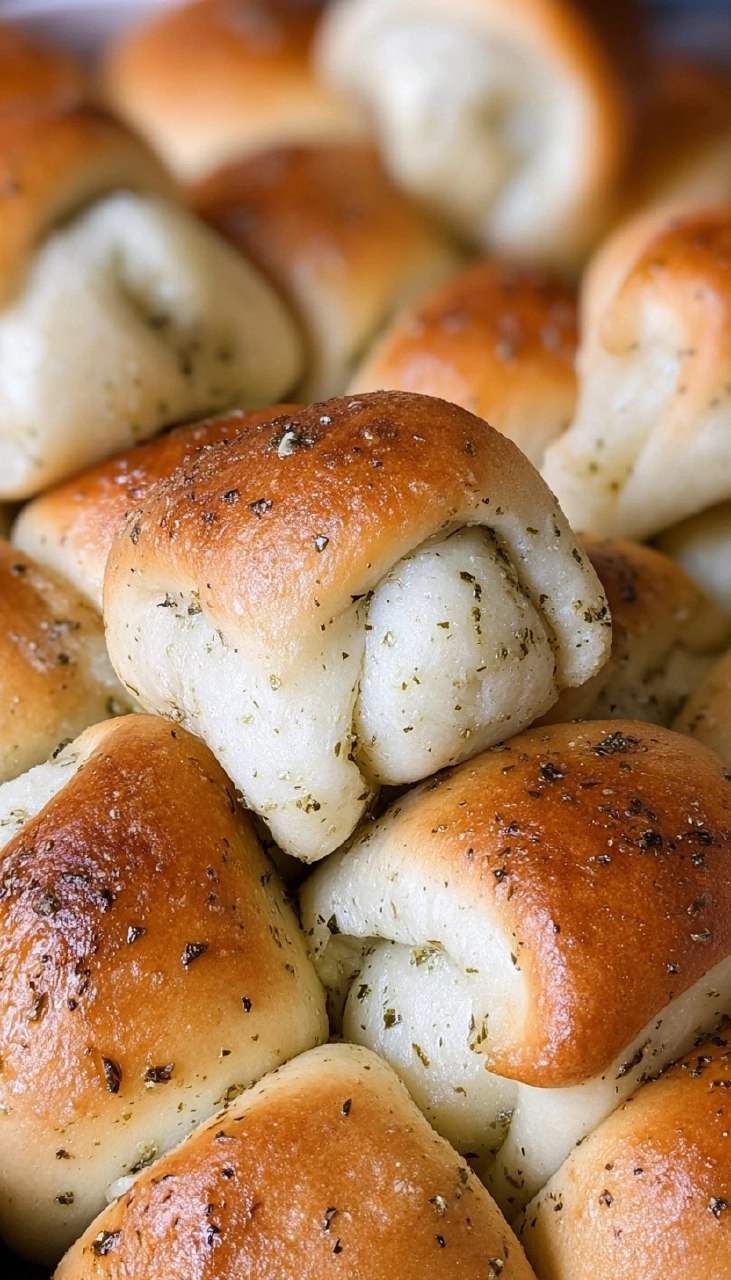
- Fill the Rolls: Brush each rectangle with the melted butter mixture. Fold over once and roll into a spiral shape. Place them in rows on greased baking sheets, keeping them slightly overlapping and with the bottom seam facing down. Leave a ¼-inch space between each row and reserve any leftover butter mixture.
- Let Rise: Cover the rolls and let them rise in a warm, draft-free area until doubled in size, about 30 minutes.
- Preheat the Oven: While the rolls are rising, preheat your oven to 400°F.
- Bake the Rolls: Bake for 13 to 15 minutes or until the rolls are golden on the edges and baked through. Remove from the sheets and cool on a wire rack.
- Finish with Butter: Brush the hot rolls with any remaining butter mixture to enhance their flavor.
Storing & Reheating
To keep your garlic rolls fresh, store them in an airtight container at room temperature for up to 2 days. If you’d like to store them longer, refrigeration is an option for up to 4 days, but be sure to seal them well. For longer storage, you can freeze the rolls for up to 3 months—just place them in a freezer bag. When you’re ready to enjoy them again, reheat them in a 350°F oven for about 10 minutes, but be aware that their texture might be slightly denser.
Chef’s Helpful Tips
- Avoid over-kneading the dough; it should be elastic but still soft and sticky when ready.
- Ensure that your milk, water, and butter are warmed to the right temperature—this helps the yeast activate properly for a good rise.
- If you’re in a hurry, skip the refrigeration step and let the rolls rise for about 30 minutes in a warm spot.
- For a bit of extra flavor, sprinkle some grated parmesan cheese on top before baking.
Nothing quite compares to the delightful magic of Homemade Garlic Rolls. The soft, warm rolls practically melt in your mouth and are filled with that delicious garlic butter flavor. They pair beautifully with soups, salads, or just enjoy them straight out of the oven. Don’t hesitate to personalize the recipe—try different herbs or spices to make it uniquely yours. The joy of baking is all about experimentation!
Recipe FAQs
Can I use whole wheat flour instead of all-purpose flour?
You can certainly use whole wheat flour, but it will change the texture of the rolls; they may be denser and require additional hydration. Consider mixing half whole wheat and half all-purpose flour to ease the transition.
How can I make the rolls dairy-free?
To make the rolls dairy-free, swap out the whole milk for almond milk or soy milk, and replace the butter with a plant-based alternative. The flavor will still shine through beautifully!
What can I do if my dough isn’t rising?
If your dough doesn’t rise, it could be due to the yeast being expired or the temperature being too cold. Ensure that the liquids were warm (not hot) when added, as too much heat can kill the yeast. Finding a warm area for rising can also significantly help!
How can I store leftover garlic rolls?
Leftover garlic rolls can be stored in an airtight container at room temperature for up to 2 days or in the refrigerator for up to 4 days. For longer-lasting storage, freeze them and reheat as needed.
PrintMore Main Dishes Recipes
Did You Enjoy Making This Recipe? Please rate this recipe with ⭐⭐⭐⭐⭐ or leave a comment.
📖 Recipe Card

Homemade Garlic Rolls
- Prep Time: 30 minutes
- Cook Time: 15 minutes
- Total Time: 45 minutes
- Yield: 36 rolls 1x
- Category: Baking
- Method: Baking
- Cuisine: Italian
Description
These Homemade Garlic Rolls offer an irresistible flavor and simple preparation. Made with fresh ingredients like all-purpose flour and garlic powder, they’re perfect for any meal, whether it’s a quick dinner or a comforting side.
Ingredients
- 4 ¾ to 5 ¼ cups (589-651g) all-purpose flour
- ⅓ cup (67g) granulated sugar
- 2 envelopes instant yeast
- 1 ½ teaspoons salt
- ¾ cup (177ml) milk
- ¾ cup (177ml) water
- ¼ cup (57g) unsalted butter
- 1 large egg
- ¼ cup (57g) unsalted butter, melted
- 1 teaspoon Italian seasoning
- ½ teaspoon garlic powder
Instructions
- In a large mixer bowl, combine 2 cups of flour, sugar, yeast, and salt, whisking together.
- In a measuring cup, heat milk, water, and 1/4 cup of butter until very warm (120° to 130°F).
- Pour the warm mixture into the flour mixture and beat for 2 minutes at medium speed, scraping the bowl occasionally.
- Add the egg and 1/2 cup of flour; beat for 2 minutes at high speed.
- Gradually mix in remaining flour until a soft, slightly sticky dough forms.
- Turn the dough out onto a floured surface and knead until smooth and elastic, about 8 to 10 minutes.
- Cover the dough and let it rest for 10 minutes.
- For make-ahead, place dough in a greased bowl, cover, and refrigerate for 12 to 24 hours.
- Divide the dough in half and roll each half into a 12-inch square, about 1/4-inch thick.
- Cut each square into 6 strips and each strip into 3 rectangles.
- In a small bowl, mix together filling ingredients.
- Brush each rectangle with the melted butter mixture, fold, and roll into a spiral. Arrange on greased baking sheets with the seams facing down, allowing space between each row.
- Cover and let rise in a warm place until doubled in size, about 30 minutes.
- Preheat the oven to 400°F.
- Bake for 13 to 15 minutes or until golden brown. Cool on a wire rack and brush with any remaining butter mixture.
Notes
For a garlic lover’s kick, increase the garlic powder to taste.
These rolls can be made ahead of time and refrigerated, allowing for a convenient preparation process.
Store any leftovers in an airtight container for freshness up to 2 days.
Nutrition
- Serving Size: 1 roll
- Calories: 124
- Sugar: 1g
- Sodium: 150mg
- Fat: 4g
- Saturated Fat: 2g
- Unsaturated Fat: 2g
- Trans Fat: 0g
- Carbohydrates: 18g
- Fiber: 1g
- Protein: 2g
- Cholesterol: 23mg